
About Smash Blocks
Tap tiles out of a nine-by-nine grid into a three-cell tray, where any three identical symbols in the tray vanish.
A triple-match tile game: tap blocks out of a nine-by-nine grid whose centre three columns are stacked with symbols, into a three-cell tray, where three identical symbols vanish.
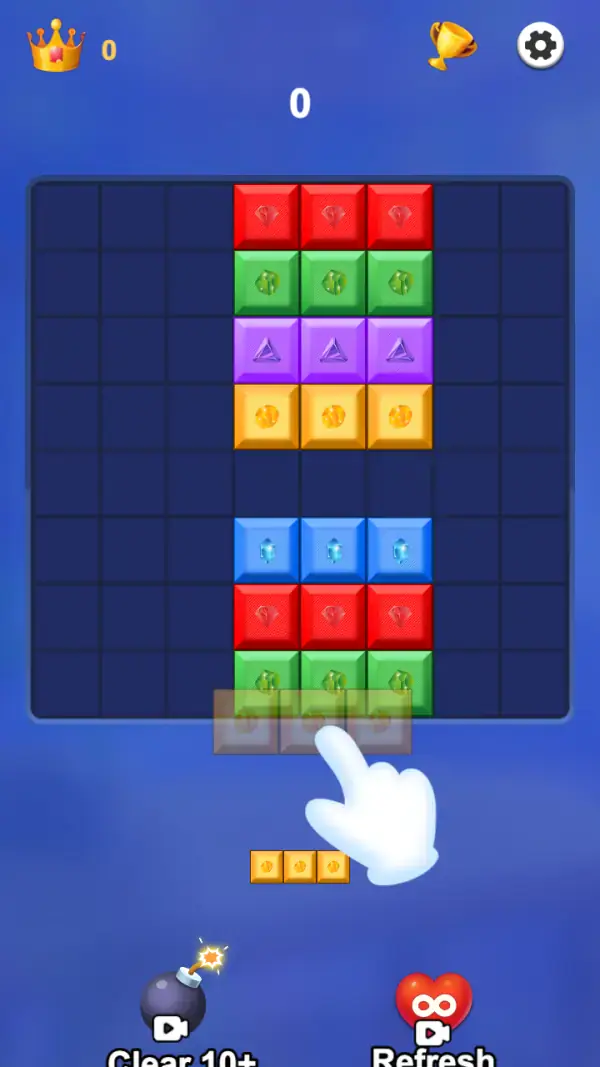
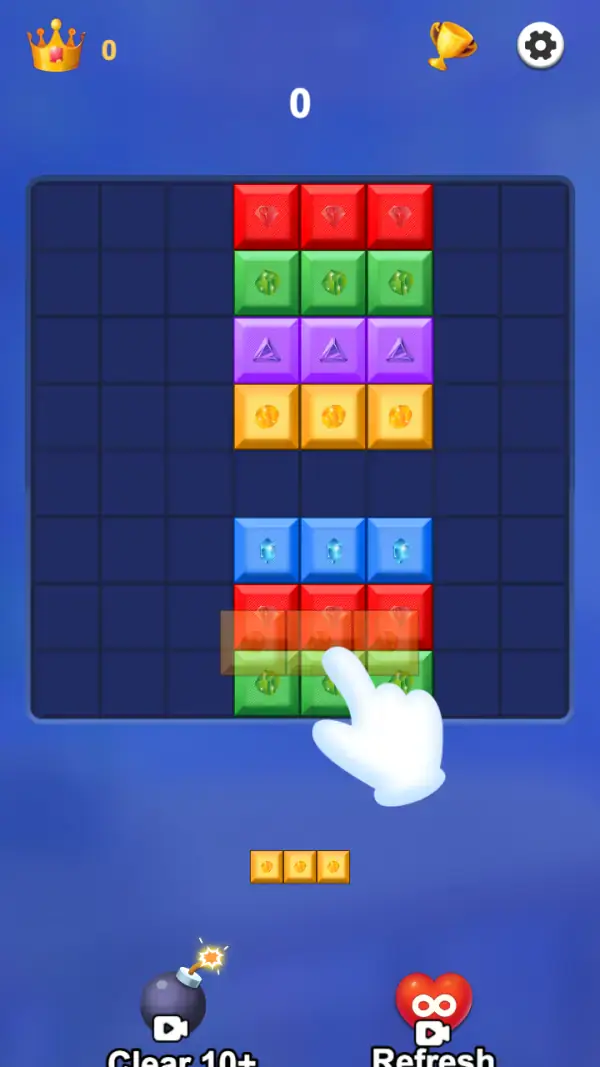
The board is a grid of nine columns by nine rows of dark cells, and only the three centre columns hold tiles (frames 1–2). Those tiles are colour-coded and each colour carries its own symbol — red with a diamond, green with a green gem, purple with a triangle, orange with a coin, blue with a pale crystal. Four rows run down from the top (red, green, purple, orange), then two empty rows, then three more (blue, red, green). That gap is the whole puzzle: you are clearing a column of symbols, not hitting a wall with a ball.
Tucked under the bottom row of the grid is a strip of three cells, drawn semi-transparent with a faint orange coin inside each one, and the tutorial hand points straight at it (frame 1). Below that, separated by open sky, is a tight row of three solid orange coin tiles (frames 1–2). Nothing on screen labels either element, so the honest reading is: the strip the hand is on is the tray a tapped tile lands in, and the solid row is what is coming next. Three identical symbols in the tray clear them; three different ones is the dead end this genre is built around.
The header holds a crown counter reading 0, a trophy button, a settings gear and a large score of 0 in the middle. Along the bottom edge are two tools, each wearing a white video-camera badge: a lit black bomb labelled "Clear 10+", and a red heart carrying a white infinity sign, labelled "Refresh" (frames 1–2).
Gameplay screenshots
Captured from the build running on this page, not promotional art. Every claim in the guide above names the frame it comes from.
How to Play
- Before tapping anything, count how many of each symbol are visible in the centre columns. A symbol with only two on the board can never complete a triple (frames 1–2).
- Tap a tile to send it to the tray, and keep the tray showing pairs rather than singles whenever you can.
- Never fill the third cell with a lone symbol when a matching pair is still on the board — clear the pair first.
- Work the stack in runs. The board is two blocks here, four rows above the gap and three below, and the lower block is the one you can see whole.
- Save "Clear 10+" for a tray holding three unmatched symbols, which is the only state that actually loses the run.
- Use "Refresh" when the remaining board has no pair you can reach, not when the board merely looks tedious — it is the heart with the infinity sign, so it is the one that stays available.
A three-cell tray is the entire risk
The strip under the board holds exactly three tiles (frames 1–2). Every tap commits one of those three positions, so the game is a packing problem: a tap that cannot possibly complete a triple is not neutral, it is one third of your remaining life spent.
Symbols matter more than colours
Each colour carries a distinct shape — diamond, gem, triangle, coin, crystal — and no two colours share one (frames 1–2). Matching is on the symbol, so reading the shape rather than the colour is the safer habit when the board gets busy, especially with red appearing twice in the stack.
Two escapes, both behind a video
"Clear 10+" is the bomb and "Refresh" is the heart, each badged with a video-camera icon (frames 1–2). They are the only recovery options visible on screen, and neither shows a coin price — the crown counter read 0 throughout. The heart also carries an infinity sign, which is the only hint on screen that one of the two is not counted out.
Tips & strategies
- The row of three orange coin tiles under the tray is the preview — checking it is free and prevents most dead trays.
- The two empty rows in the middle of the stack are not slack, they are where the board gets awkward later.
- The score in the header stayed at 0 across our frames, so early clears are about surviving the tray rather than building a number.
- The crown counter and the trophy button are a separate progression track from the score; neither was needed to start a board.
Where players go wrong
- Calling it a break-out game. There is no launcher, no angle and no bouncing — the verb is a single tap into a three-cell tray.
- Tapping a tile because it looks satisfying rather than because it completes or sets up a triple.
- Using the bomb early. It is the only thing that saves a jammed tray, and a video costs real time.
Playing on phone, tablet and desktop
Portrait, with the grid occupying the upper two-thirds and the tray, preview row and two tools stacked below it — all reachable with one thumb. The tiles are large relative to the board because only three of the nine columns are populated, which makes mis-taps rare even on a small phone. No keyboard control appears on any captured frame.
Frequently Asked Questions
Is Smash Blocks a brick-breaker?
No. There is no paddle, ball or launch angle anywhere on screen. The board is a grid of symbol tiles and you tap them into a three-cell tray to match three of a kind (frames 1–2).
How do you lose?
By filling the three tray cells with symbols that do not form a triple. The tray is the only fail state visible on the board.
What does Clear 10+ do?
It is the bomb at the bottom-left, badged with a video-camera icon, and its label reads "Clear 10+" (frames 1–2) — ten or more tiles at once. What it clears is named by the label, not shown by any frame.
What is Refresh?
The red heart at the bottom-right, also video-backed, and drawn with a white infinity sign on it (frames 1–2). The label says it refreshes the board; the infinity is the only quantity shown anywhere on it.
What are the three orange tiles under the tray?
A row of three coin-symbol tiles sitting below the tray strip (frames 1–2). Nothing labels them, but they are the only other three-wide element on the screen and they read as the incoming queue.